

Friday, 28 September 2012
Wednesday, 1 August 2012
Final Tutorials
Lighting & Rendering 3: Intro to Mental Ray Continued
Ambient Occlusion with Displacment Maps


Sub Surface Scattering Part 1: Grapes

Sub Surface Scattering Part 2: Cartoon Shader

Mental Ray: Using Maya Layered Shaders with Mental Ray Nodes

Mental Ray: Round Corners Node

Depth of Field: Using Luminance Depth


Lighting Profiles: IES Lighting Information Files


Dynamics 3: Intro to Dynamic Bodies
(In Order)
Soft Bodies Part 3: Snow
Soft Bodies Part 3: Water
NCloth Part 5: Custom Presets & Component to Component Constraint (Balloons)
Active / Passive Bodies: Stand In Object (Chain Links)
Active / Passive Bodies: Pin Constraint (Earing)
Soft Bodies Part 1: Flesh
NCloth Part 3: Bouncy Castle (Cache Blending)
NCloth Part 4: Rope Bridge (Transform Constraints)
Soft Bodies Part 2: Cloth / Marble
NCloth Part 7: Weld Adjacent Borders Constraint (Candy Bag)
NCloth Part 6: Tearable Surface Constraint (Marbles)
Soft Bodies Part 5: Bubbles
NCloth Part 2: Netting (Indirect Deformation)
Active / Passive Bodies: Nail Constraint (Newton’s Cradle)
Active / Passive Bodies: Hinge & Spring Constraints (Catapult)
NCloth Part 1: Flags (Ncloth, Collider, & Nucleus)
Monday, 16 July 2012
Sunday, 27 May 2012
Monday, 21 May 2012
Transcription:- Additional Work
This animatic shows the stage of events of the dancing Knex figures, Which I discussed with Alan, from beginning to end.
Slides

 |
| Slide 1 |
 |
| Slide 2 |
 |
| Slide 3 |
 |
| Slide 4 |
 |
| Slide 5 |
 |
| Slide 6 |
 |
| Slide 7 |
 |
| Slide 8 |
Additional Slides:
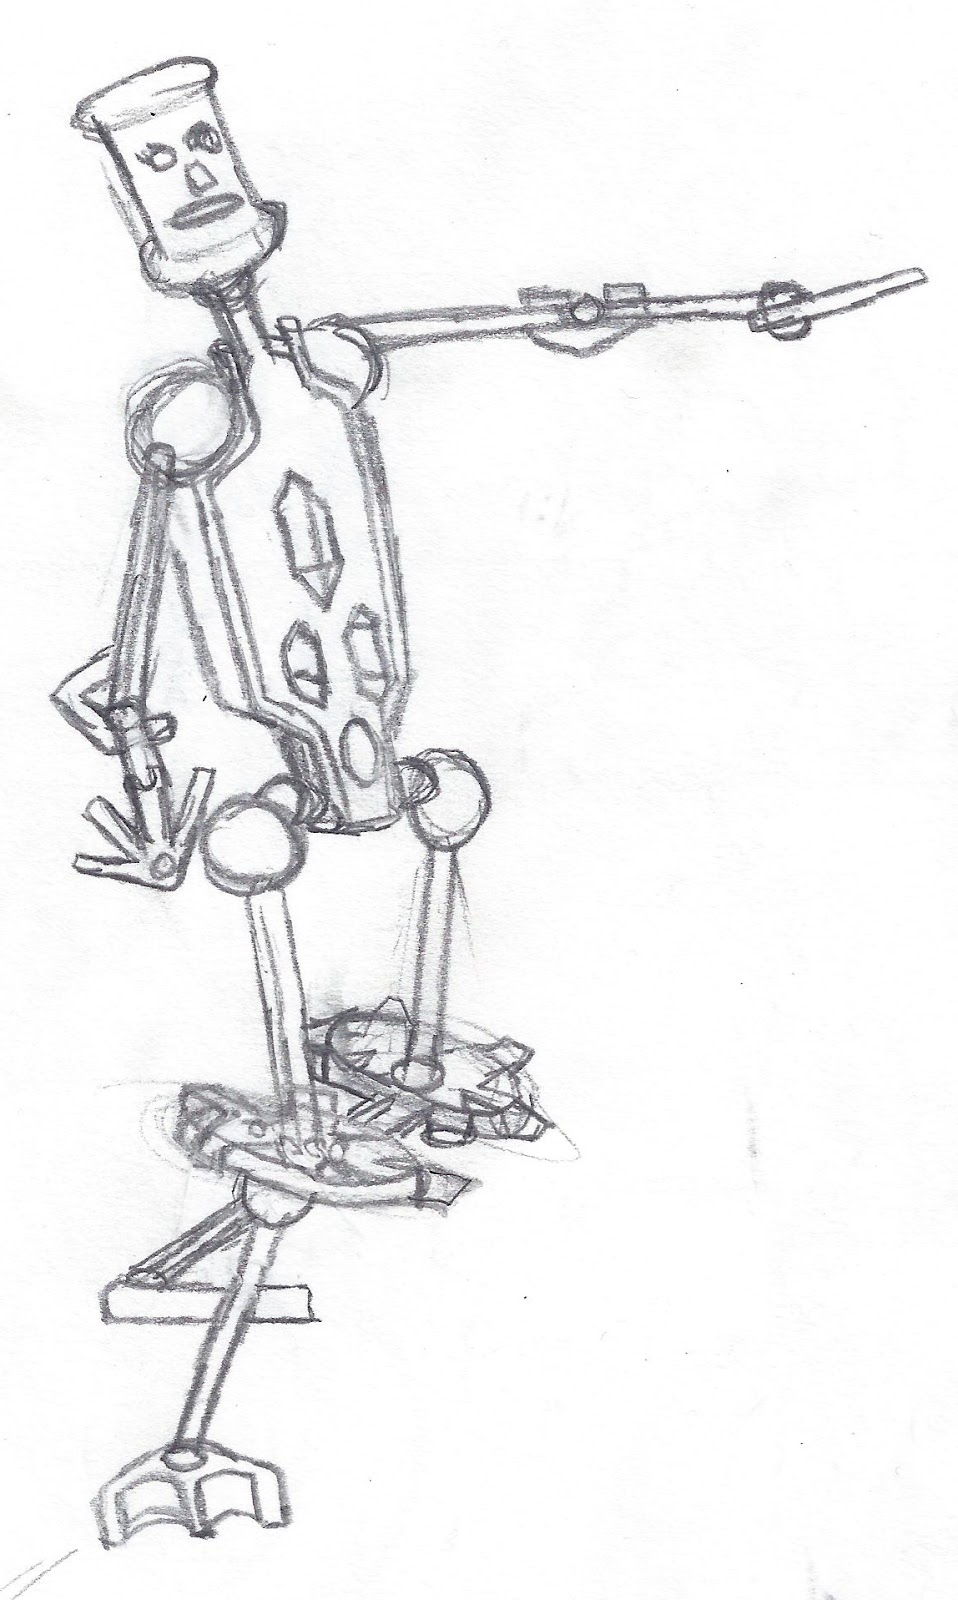
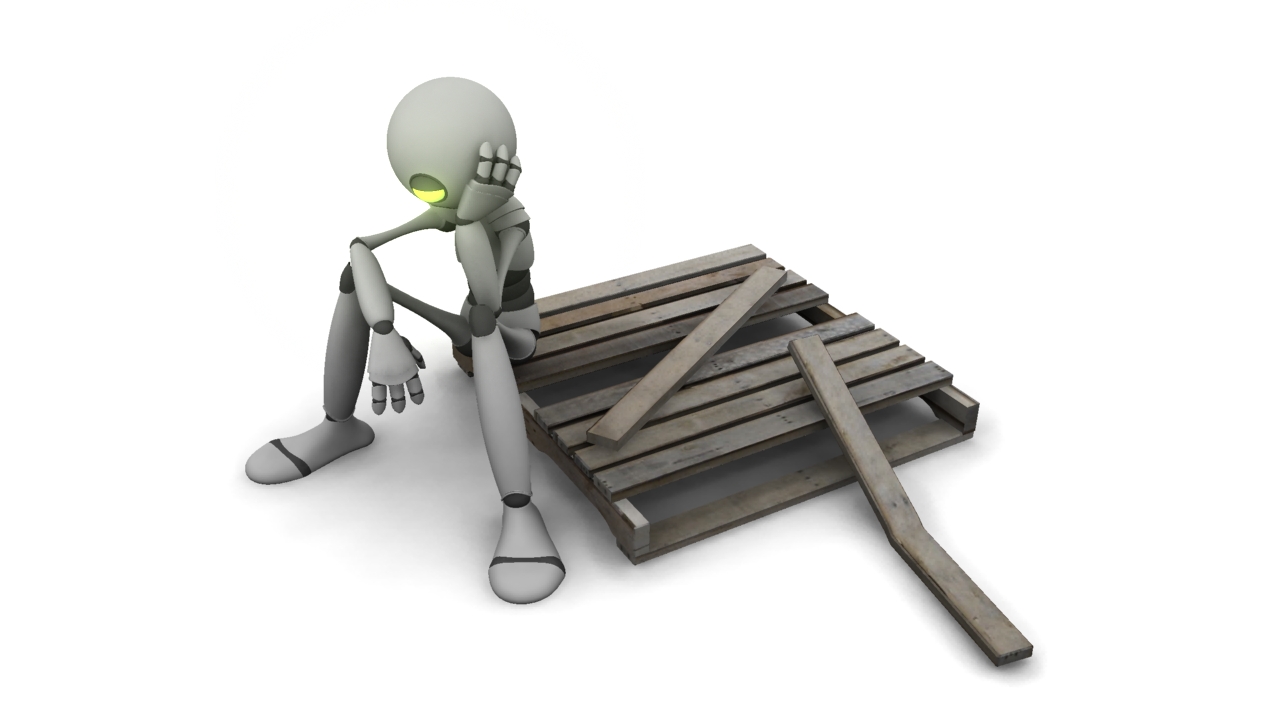
This robot is from my previous design work for this project, he is involved in this idea and is just the sideline action figure who provides the music.


Design
These are the 2 action figure designs.
 |
| Figure 1 |
 |
| Figure 2 |
 |
| Figure 1 Pose |
 |
| Figure 2 Pose |
 |
| Poses & Bits n Bobs Design |
Throughout the dance, the figures will be dismantling and merging together as one simultaneously. Here are the different forms in which they would come together.
 |
| Fusion Design 1 |
 |
| Fusion Design 2 Front |
 |
| Fusion Design 2 Back |
Sunday, 29 April 2012


Sunday, 22 April 2012
Transcription:- Maya Tutorials
Displacement:


MR Mia Materials:

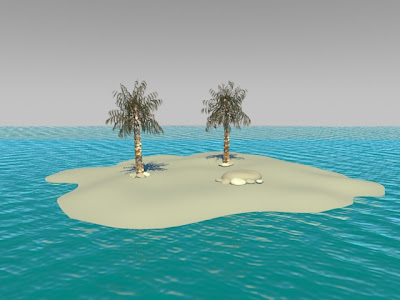
Physical Sun & Sky:


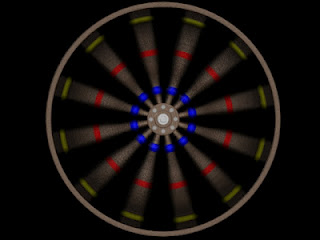
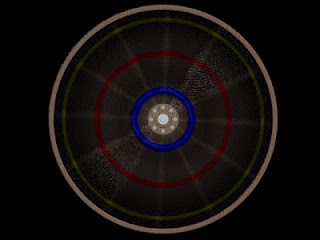
MR Global Illumination:


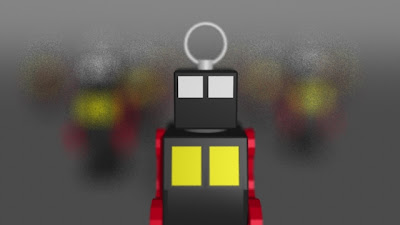
Depth Of Field:
 |
| Maya Software |
 |
| Focal Distance 21k |
 |
| Contrast |
 |
| Lens Bokeh Plane 4000 |
 |
| Radius |
 |
| Samples |
 |
| Bias |
 |
| Anti Aliasing Contrast |
MR Motion Blur
Cartwheel


Jet


Igor
I didnt finish Igor in the end, as I decided to use this tutorial to model my own character instead.
 |
| Part 1 |
 |
| Part 3 |
This is around the stage part 4 of the tutorial brings you to, the mouth.
 |
| Part 4, Mouth |
 |
| Part 5, Nose |
 |
| Part 6, Nose Refinement |
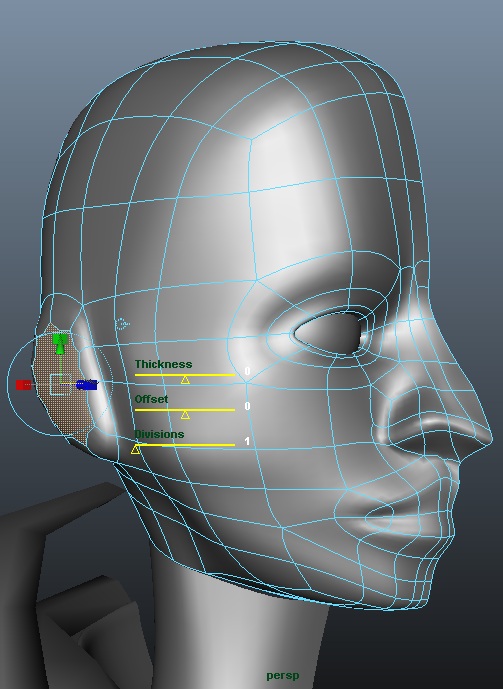 |
| Part 7, Ear |
 |
| Part 8, Ear Refinement |
 |
| Part 9, Neck, Mirror & Refinement |
 |
| Model |
 |
| UV Map |
*Edit*
Final Gather


 |
| 2 Density |

 |
| 1.5 Point Interpolation |
 |
| 500% |
 |
| Map Visualizer |
 |
| Animation |
 |
| Animation 2 |
Subscribe to:
Posts (Atom)